
Last Updated on: 6th June 2025, 07:46 am
As one of America’s most popular and crowded parks, proper planning is essential for getting the most out of Rocky Mountain National Park. In the following Rocky Mountain planning guide, we’ll be covering essential info such as the best places to stay, the park’s Timed Entry Permit System, packing tips, a sample itinerary, and more.
All in all, Rocky Mountain National Park isn’t nearly as stressful as somewhere like Glacier, but there’s still a lot that you’ll want to keep in mind when planning your trip.
Note that the following guide assumes you’ll be visiting Rocky Mountain sometime between May and October, when the park’s main road, Trail Ridge Road, is open.
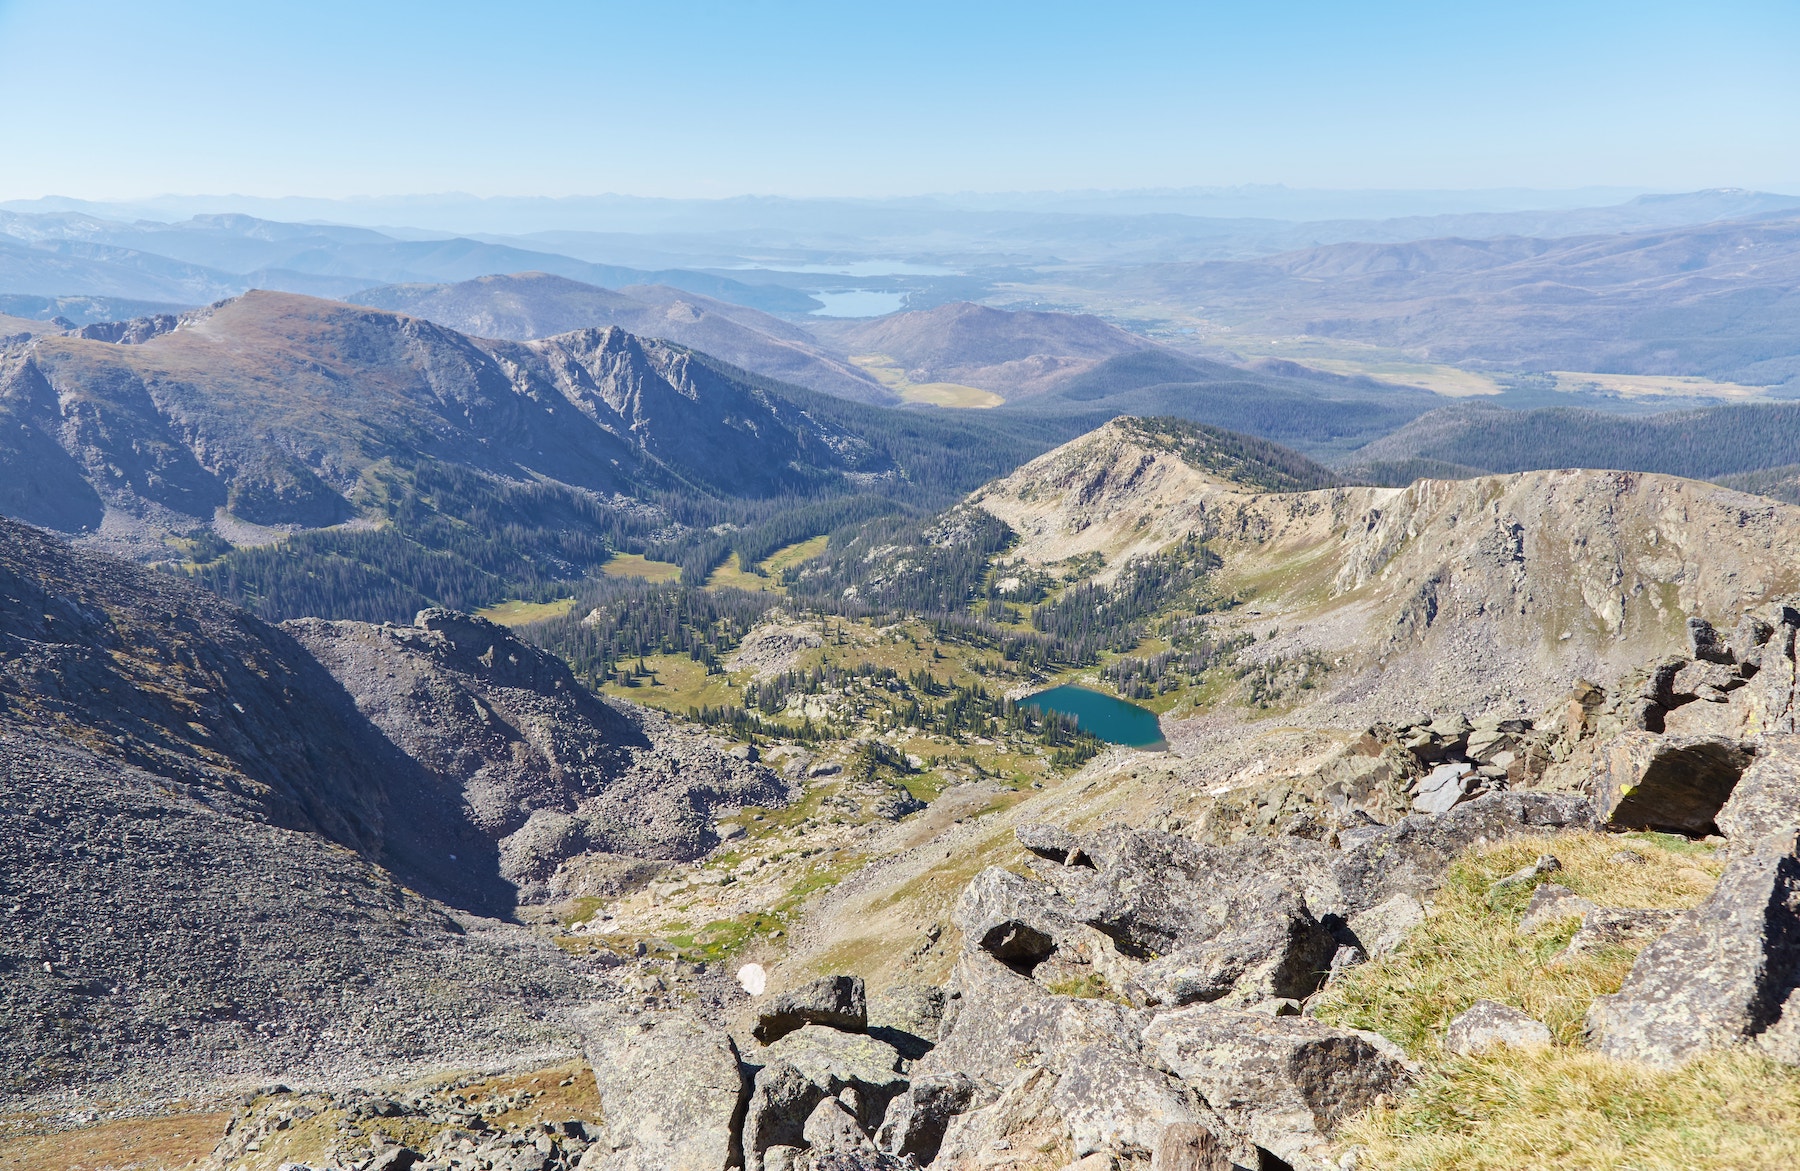
Rocky Mountain National Park's Geography
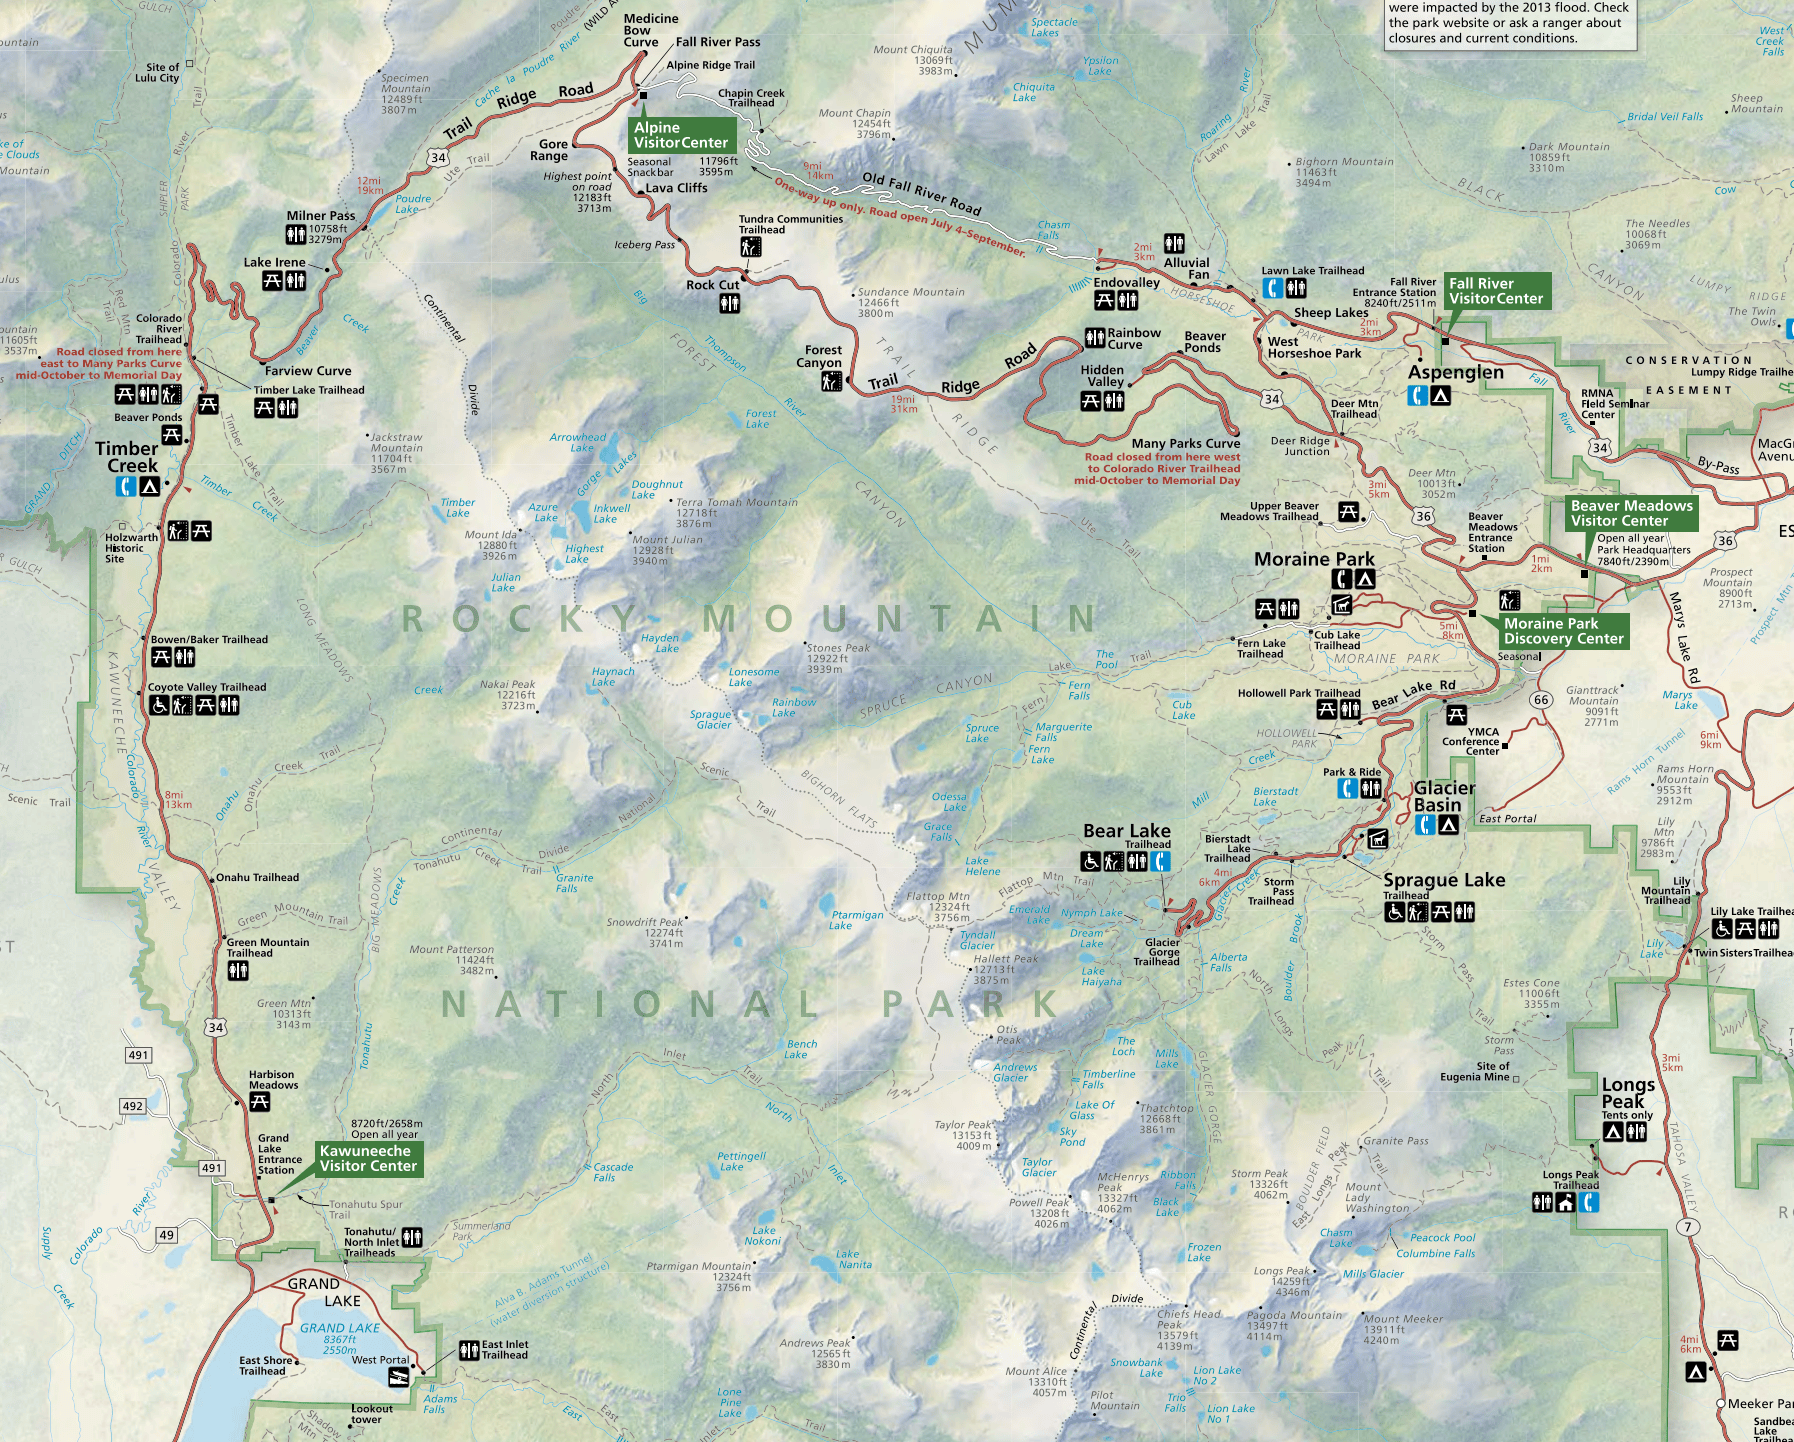
Rocky Mountain National Park stretches out to 415 square miles (265,807 acres). And the main road that runs through it is Trail Ridge Road, a 55-mile (89 km) road whose highest point reaches up to 12,183 feet (3,713 m).
At the road’s eastern end is the town of Estes Park, the park’s main hub. To the southeast of Trail Ridge Road, meanwhile, is Grand Lake. When first entering the park, you can choose either end based on which direction you’ll be coming from.
Though you’ll find a plethora of trails and viewpoints situated all along Trail Ridge Road, a majority of the park’s most popular hikes are situated in the east, so that’s where most visitors will want to stay (more below).
Another popular road in the park is Bear Lake Road, which largely runs north-south. It branches off from Hwy 36 just west of the park’s main entrance near Estes Park. It’s here that you’ll find famous lakes such as Bear Lake and Emerald Lake, in addition to the popular Sky Pond hike. But a special permit is required to access this area (again, more below).
In terms of elevation, Rocky Mountain National Park ranges from 7600 ft (2316 m) to as high as 14259 ft (4,326 m), with the park’s highest point being Longs Peak. Those coming from lower elevations will definitely need to take the altitude into consideration.
Where to Stay
Before going over the best options outside the park, remember that you can also camp within the park. Learn more about camping here, while you can make a reservation here. For those visiting during summer, campsite reservations go on sale six months in advance.
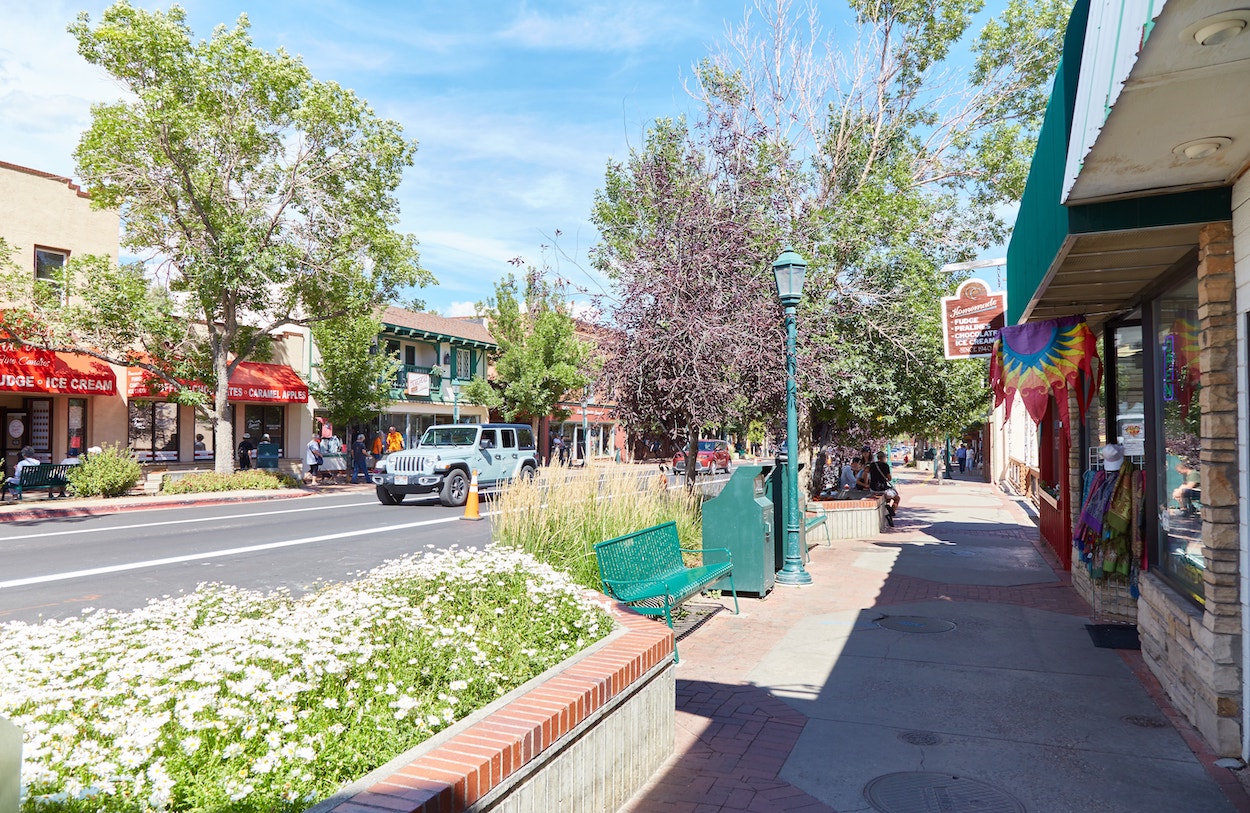
Outside the park, the most convenient base for Rocky Mountain is the town of Estes Park, located just to the east. As mentioned, most of the park’s significant hikes and landmarks are also located in the east of the park, so staying in Estes Park would allow you to get an early start.
Furthermore, it’s quite a charming town with plenty of restaurants and amenities to choose from. However, in regards to hotel prices, the town is far from budget-friendly.
Popular mid-range options include Olympus Lodge and Coyote Mountain Lodge. Those with bigger budgets might want to consider private lodgings such as the Fall River Casita or Old Man Mountain.
But if Estes Park is out of your budget, what are the next best options?
One option is the town of Lyons, which is about 30 minutes southeast of Estes Park. The main downside, however, is that there aren’t that many hotel options there, while the town is also a bit lacking in terms of restaurants and shops.
Even further east is the city of Loveland, which is home to a plethora of affordable hotels, such as the Travelodge by Wyndham. In addition to being affordable, Loveland has no shortage of shops and restaurants to choose from.
Its main downside is its distance from the park. Those staying in Loveland should anticipate around an hour commute to the park entrance, not to mention additional driving to that day’s destination. Furthermore, you’ll have to drive through a scenic yet winding canyon on your way to and from the park each day.
Staying in Loveland, at least, is so much cheaper than Estes Park that booking a few extra nights shouldn’t break the bank.
As mentioned, just outside the southwest boundary of the park Grand Lake, which is also a lot more affordable than Estes Park. But with the exception of a hike like Mount Ida, using Grand Lake as your base would mean you’d have to do a lot of driving each day – mainly down Trail Ridge Road. As thrilling as that road is, it’s probably not something most visitors would want to deal with daily.
The Timed Entry Permit System
Presently, Rocky Mountain National Park is implementing a Timed Entry Permit System during the peak summer season (specifically May 24 – Oct 24) to reduce overcrowding.
Compared to many other National Parks, however, this system is a lot more flexible, as it’s only in place from 9:00-15:00. With that said, don’t arrive just before 9:00, as you’ll encounter a long line of cars trying to make it in at the last moment.
Aside from the basic Timed Entry Permit, there’s also a special permit to access Bear Lake Road. It’s simply known as the ‘Timed Entry + Bear Lake Road’ permit. These permits are required to access Bear Lake Road from as early as 6:00 (though some signs at the park even say 5:00), so they’re especially important to obtain.
There’s no special process or requirements for booking the Timed Entry + Bear Lake Road permits other than simply choosing that option at checkout.
You can purchase both types of permits online here.
Since you can enter the park at any time with a regular permit, as far as I can tell, there’s no downside to only buying the Bear Lake Road permits, which also allow full park access. I’d imagine, however, that park management wouldn’t want people buying more than necessary in order to keep more passes available for those who really need them.
Both versions of the permit go on sale on the first day of the month before the month you plan on visiting the park. For example, if you plan on visiting any time in August, Timed Entry Permits for that month will go on sale on July 1.
From my experience, compared with securing permits for Glacier National Park which can sell out in minutes, I had no issues getting all the permits needed for Rocky Mountain on the day they went on sale. Still, it would be wise to purchase them as soon as possible so you don’t experience any major disappointments.
Bear Lake Road Parking
Bear Lake Road is the most crowded part of the park, which is why it’s the only section of Rocky Mountain that requires a special entry permit. But assuming you’ve secured your Timed Entry + Bear Lake Road permit for the day you want to hike, you’ll still have to deal with parking.
Basically, you have a few main options. First of all, you can park at the Park & Ride Transit Hub which is about halfway down Bear Lake Road. From there, you can take a free shuttle all the way down to the main Bear Lake Parking lot, from which you can then hike to the area’s lakes as well as Sky Pond. (Note: You’ll still need the special permit to even access the Transit Hub and shuttle.)
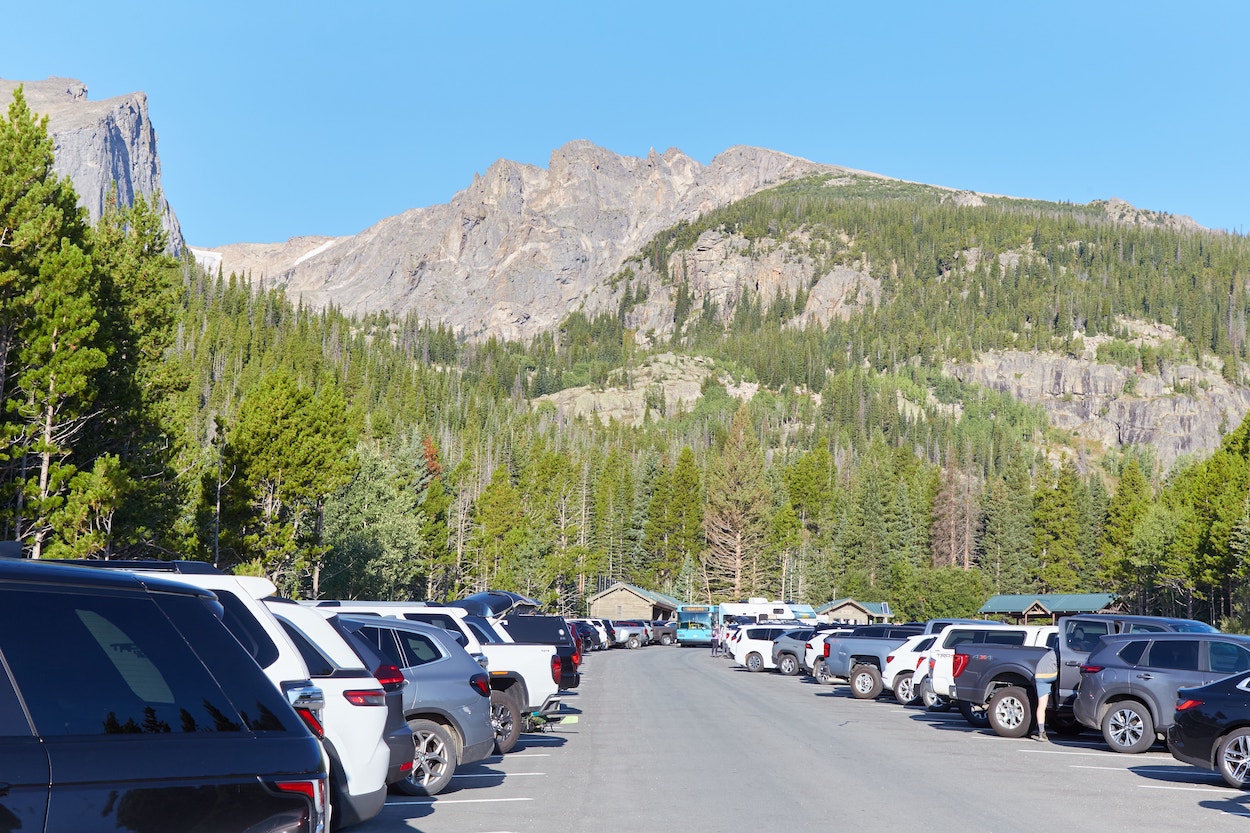
Otherwise, you can attempt to drive to the very end of the road to either park at the small Glacier Gorge Parking Lot or the much larger Bear Lake Parking Lot.
This is somewhat risky, as you’ll have no choice but to turn around if you find these lots full. And it’s a roughly 15-minute drive each way between the Park & Ride Transit Hub and the Bear Lake Parking Lot, so you could potentially end up wasting lots of time.
In my case, I took the risk and drove all the way to the Bear Lake Parking Lot two days in a row. The first day, I arrived there a little after 8:00 am and managed to find what was probably the very last open spot.
The next day, I arrived around 7:30 and encountered fifteen or so open spots. This was in summer peak season but after kids had already returned to school.
Note that at the entrance to Bear Lake Road, you may see a sign indicating that the Bear Lake Parking Lot is full, but that doesn’t necessarily mean it really is.
How Soon to Start Planning
Generally speaking, the sooner you figure everything out the better. But as popular and crowded as Rocky Mountain National Park is, you don’t need to plan everything out as far in advance as somewhere like Yellowstone or Glacier.
For those parks, it’s necessary to figure everything out around five months to a year in advance. But a large part of that is due to their isolated locations. Rocky Mountain, in contrast, is an easy drive from Denver and Boulder, while you have several options to choose from as your base for the park.
In regards to accommodation, a lot will depend on whether or not you want to stay in Estes Park. If that’s your plan, then looking for accommodation several months in advance would indeed be ideal.
But if you’re content with staying further away from the park to save money, such as a town like Lyons or Loveland, you’ll have a lot more time.
Though I had to cancel a hotel I’d booked in Lyons due to a scheduling change, I was still able to secure a cheap hotel in Loveland just a couple of months before my summer peak season trip.
As mentioned above, Timed Entry Permits only go on sale on the first day of the month before you plan to visit. It would definitely be wise to have your hotel and exact travel dates figured out before securing the permits.
Hiking Tips & Safety Issues
ALTITUDE: If you’re coming from a lower elevation, it’s going to take you some time to adjust to Rocky Mountain National Park’s high altitudes.
Altitude sickness affects everyone a little differently, but common symptoms include headaches, dizziness, and nausea. Furthermore, you’ll likely find yourself getting tired much more quickly than normal – not something you’d want to deal with during a strenuous hike!
As such, you’ll want to plan out your itinerary so that you begin with one or two easier hikes before attempting something more difficult (more below).
AFTERNOON STORMS: Rocky Mountain National Park is known for its afternoon thunderstorms that can occur suddenly, especially from around noon to 3 pm.
Therefore, when doing long and strenuous hikes that take you above the tree line, it’s imperative that you get an early start. It’s generally recommended that you’re back beneath the tree line by noon or 13:00.
That also means that when planning out your trip, you don’t want to try to cram in too many activities each day, as you never know how the afternoons will turn out. On the days of your long hikes, it would be wise to keep your afternoons free.
While many of the park’s popular hikes last 4-6 hours, those hoping to conquer Longs Peak, Rocky Mountain’s highest point, should anticipate hiking around 10-15 hours! That’s why many people begin that hike as early as 2:00 am.
BEARS?: If you’ve traveled to Wyoming or Montana, you likely know a thing or two about bear safety and how important it is to bring along bear spray. Luckily, you can forget about all that when hiking through Rocky Mountain.
While there are technically a couple dozen black bears in the park, your chance of an encounter is so low that bear spray is generally considered unnecessary, and you shouldn’t have any worries about hiking solo.
SNOW?: While you shouldn’t expect it to snow during the summer months, you may end up encountering a lot of unmelted snow on the trails if you visit in June or even early July. As such, you’ll definitely want to come prepared with decent hiking boots.
What to Pack For Rocky Mountain
A lot of the things you’d want to bring to Rocky Mountain National Park in summer are pretty typical. Be sure to bring a hat, sunscreen, hiking boots, a water bottle, etc.
Considering the steepness of many of the hikes, trekking poles will certainly come in handy. While a pair of high-end trekking poles can be expensive, in many cases, you’ll be fine with something more budget-friendly. These poles by Trekology are highly rated and seem to often go on sale.
Given the park’s elevation, it’s typically chilly in the mornings, even during summer. As such, you’ll definitely want to wear hiking pants. These are some of the top-selling pants for men, while these are popular pants for women.
You might want to take things even further and buy a warm hat and a pair of gloves, especially for a hike like Mount Ida, not to mention Longs Peak. If you forget your own, you should be able to buy some at a local shop in Estes Park.
Rocky Mountain is abundant in wildlife, so you might want to consider bringing binoculars to better see animals in the distance. This affordable pair has thousands of positive reviews on Amazon, while this higher-end pair is also highly rated.
If you’re a photographer, be sure to bring a zoom lens for shooting wildlife. If you already have a DSLR or mirrorless camera, I recommend this 70-300 mm lenses by Tamron.
If you’ll be doing any hiking at Glacier, you’ll thank yourself for buying a subscription to either AllTrails or onX Backcountry. Both apps cost around $30 per year, and paying for a subscription allows you to access specific trail maps offline. Needless to say, this is vital in areas that lack reception.
As mentioned above, altitude sickness can be an issue for some hikers. While you should do thorough research on whether or not you need it, along with potential side effects, the most common medicine for altitude sickness is acetazolamide (Diamox).
Sample Itinerary

How many days do you need for Rocky Mountain National Park? A lot depends on how big of a hiker you are. With so many hiking options, no two itineraries are going to look exactly the same, and a lot will also depend on weather.
You also have to take budget into consideration. While it would be wise to book an extra day or two in case of rain, those on a budget might not be able to do that.
What follows is a sample itinerary from my recent trip, which was put together after researching various sources. If you or people in your party aren’t big hikers, however, you should be fine with just 2-3 days in the park.
For example, you could copy Days 1 and 2 from the itinerary below, while also adding in an easier hike, such as Gem Lake or Deer Mountain, on another day. Or, perhaps you could drive Old Fall River Road, a one-way gravel road. Checking out some of the attractions around Estes Park is another option.
If you are a big hiker, you should still start with the Day 1 and Day 2 activities below, as these will help you acclimate to the elevation before you attempt one of the longer hikes. In case rain forces you to cancel one of the more strenuous hikes, I’d leave out Chasm Lake.
Day 1: Drive Trail Ridge Road (If coming from Denver, drive it end-to-end coming from the west to east. If coming from Estes Park, drive to the Alpine Visitor Center and back again, or even further if time and weather allow).
Day 2: Head down Bear Lake Road and try some of the lower elevation hikes, such as to Emerald Lake and Mills Lake (Timed Entry + Bear Lake Road permit required).
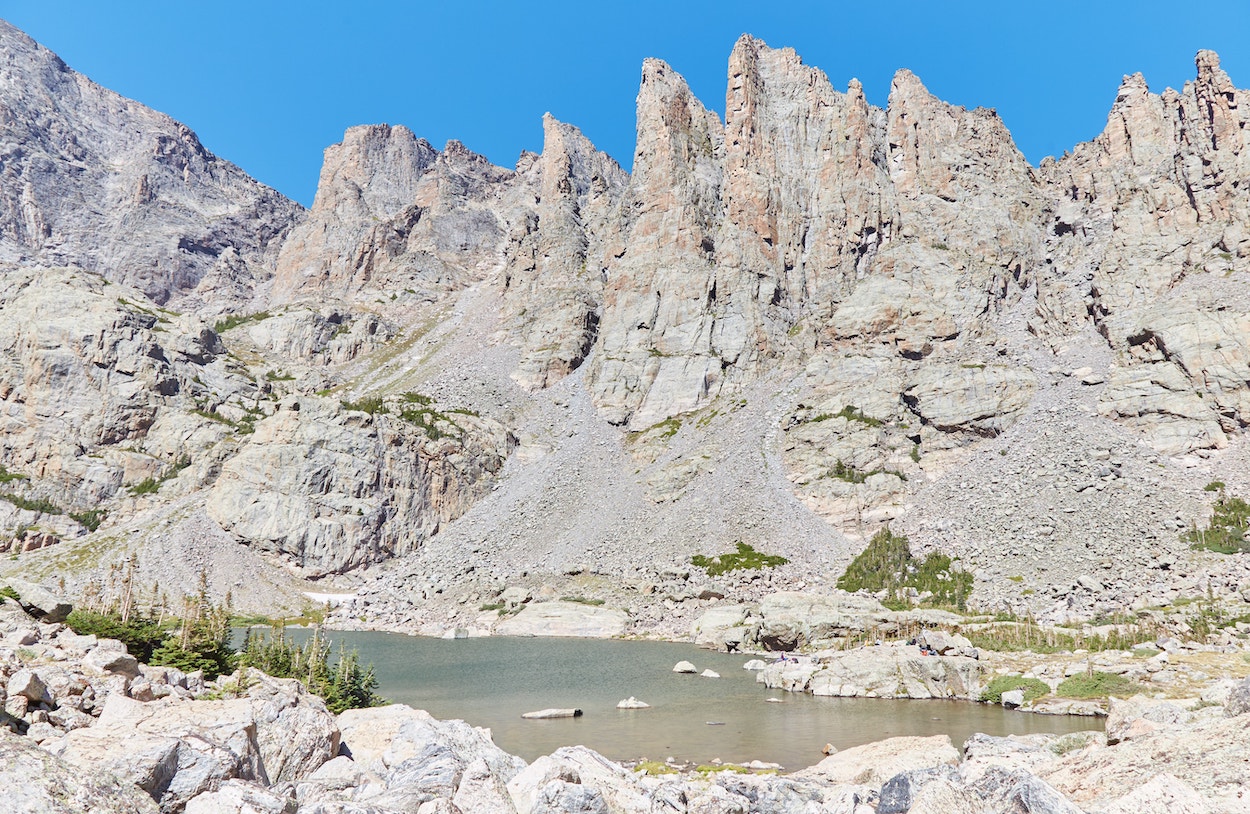
Day 3: Return to Bear Lake Road and do the Sky Pond hike (Timed Entry + Bear Lake Road permit required).
Day 4: Hike to Chasm Lake
Day 5: Hike to the summit of Mount Ida


